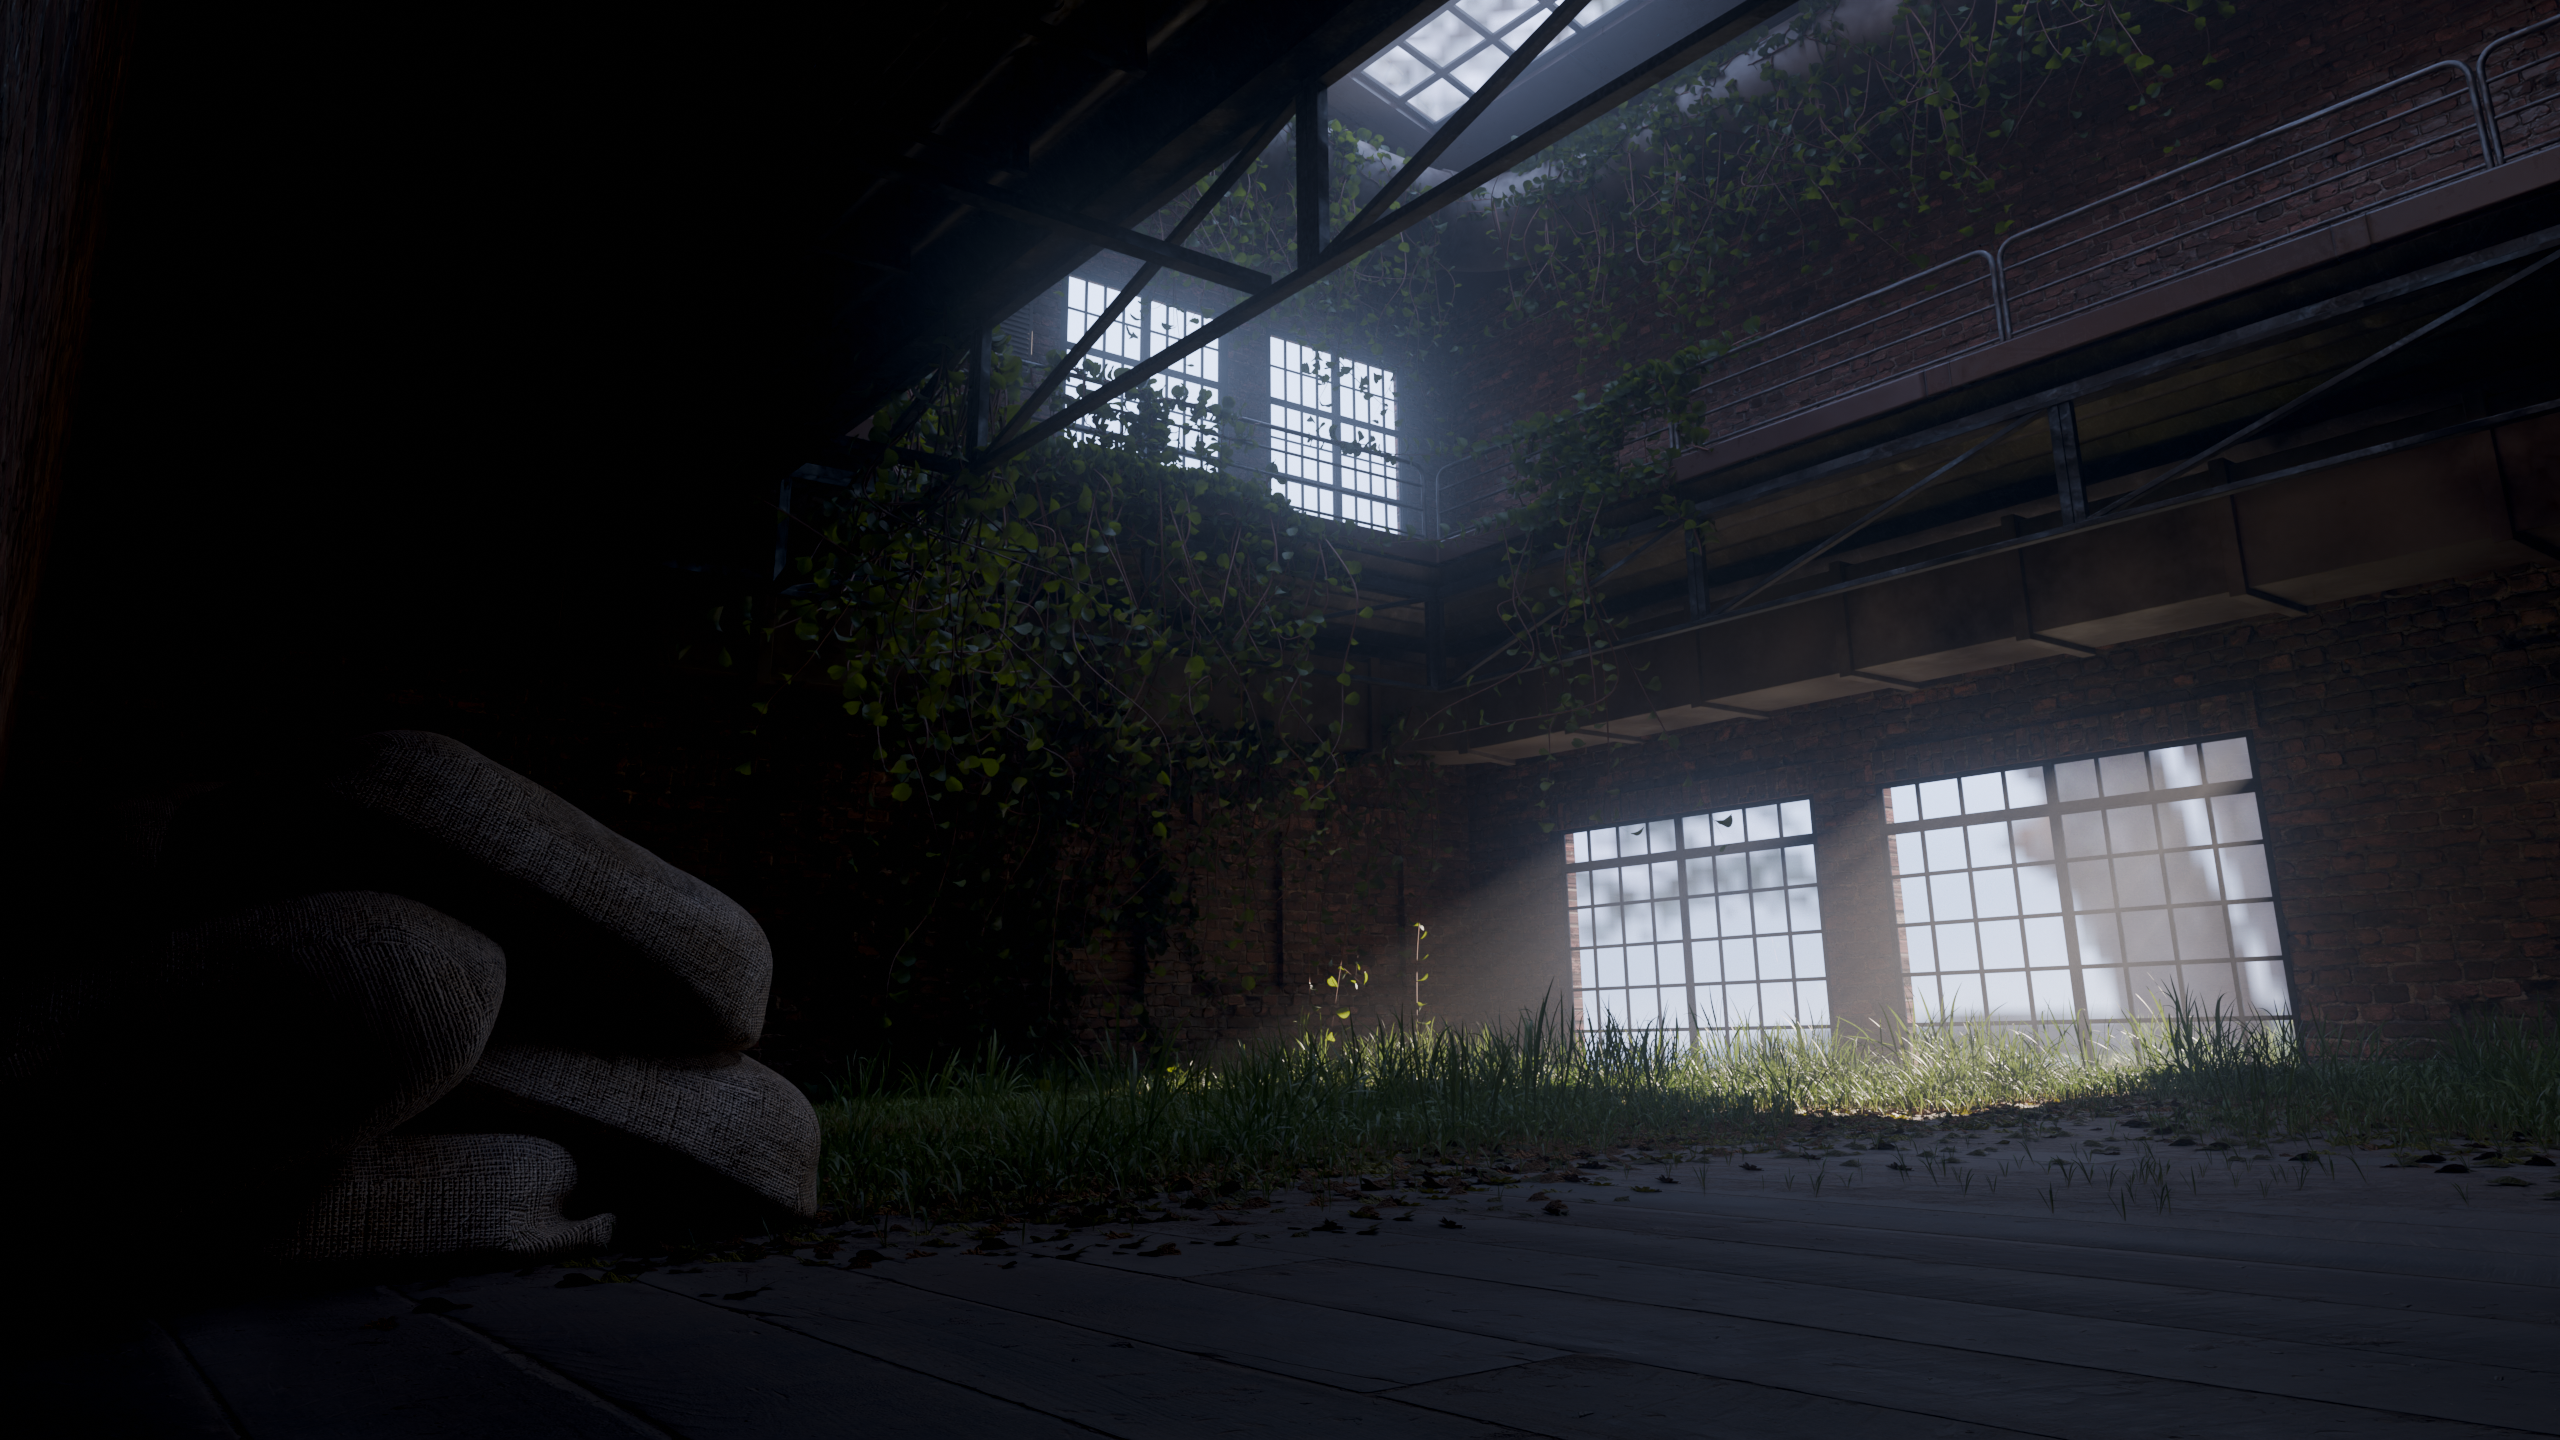
Environments
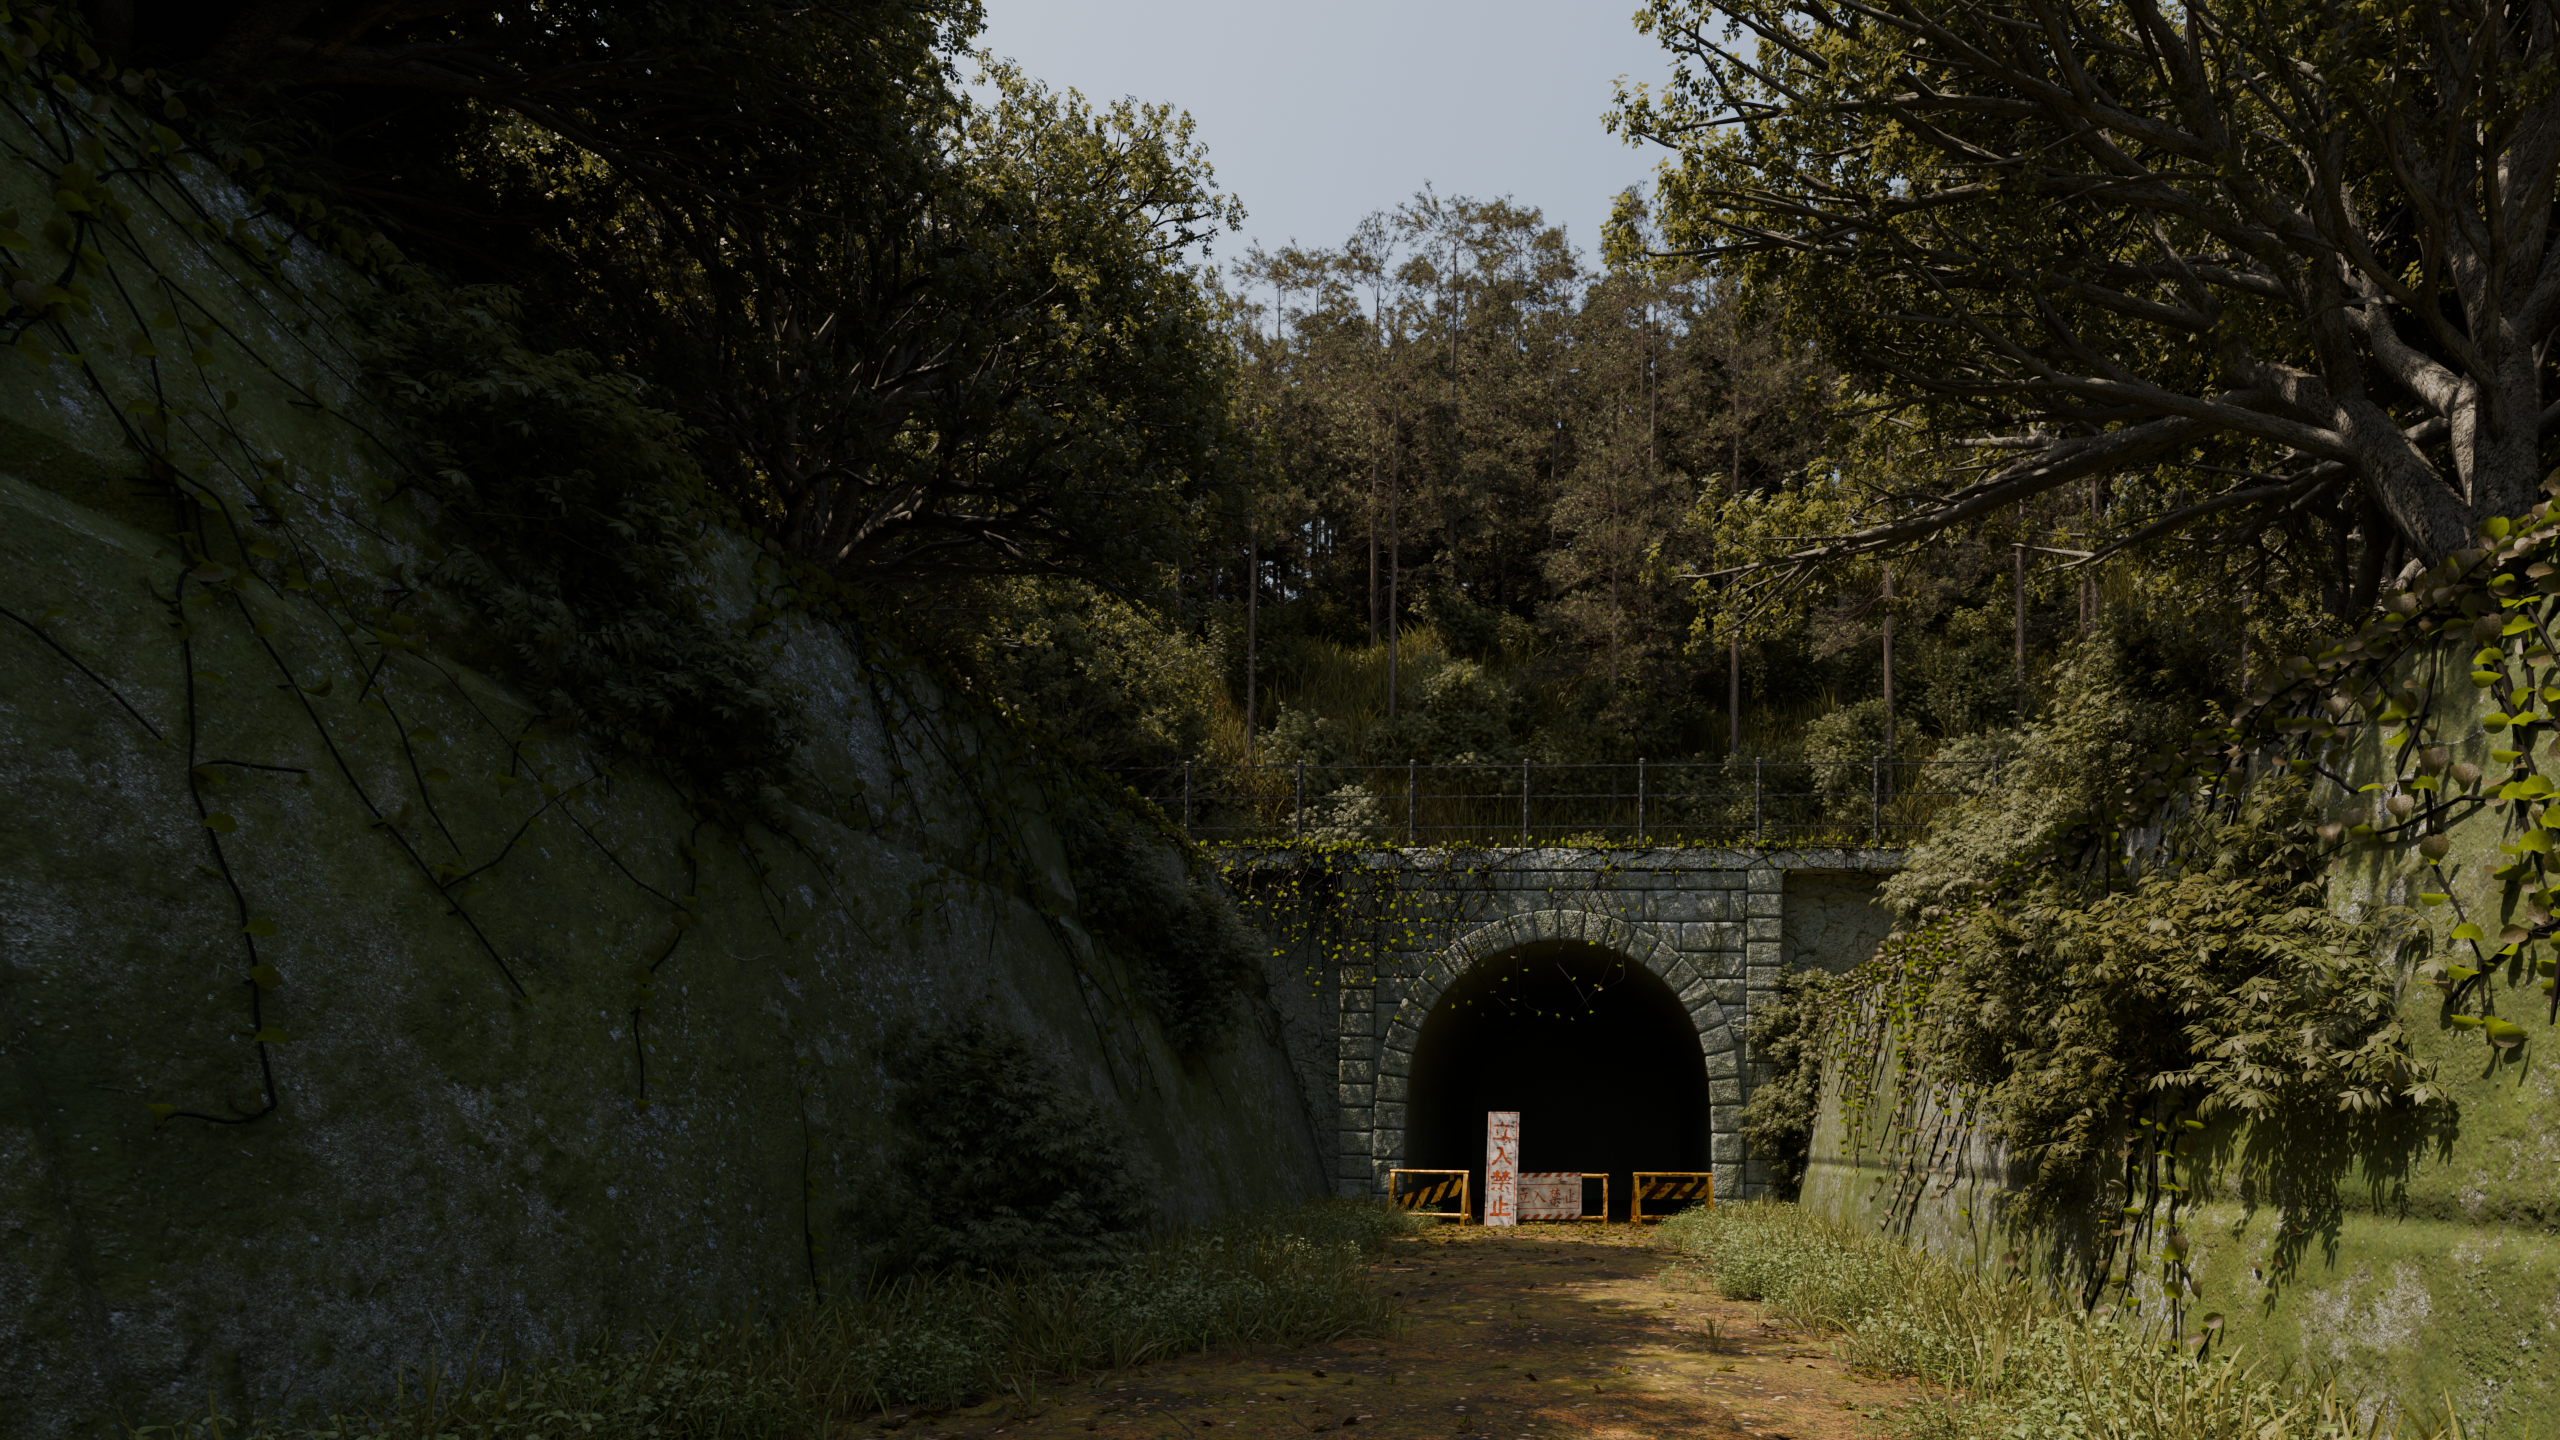
During Trimester 6, I decided to jump out of my comfort zone and create some organic environment renders. I wanted to not only learn how to blend everything in quickly whilst maintaining realism. This meant spending a bit of extra time building node setups to streamline my process. One of the most useful cases of this was a basic material node setup that let me blend textures based on their height info, with built-in room for adjustment. Everything here was made from scratch except for the trees.

Geometry Nodes
Throughout my time at university, I have dedicated myself to learning geometry nodes and the many ways they can be utilised. Half of my time was spent on creating particle simulations like my very adaptable points-along-curve system or my toon-smoke simulation. The other half has been spent on procedural modelling and scattering tools such as my mesh to Lego system or my procedural staircase system. Though ever since learning geometry nodes, I have found myself using it for many small things. its very nice to have on standby when I get stuck during a project.
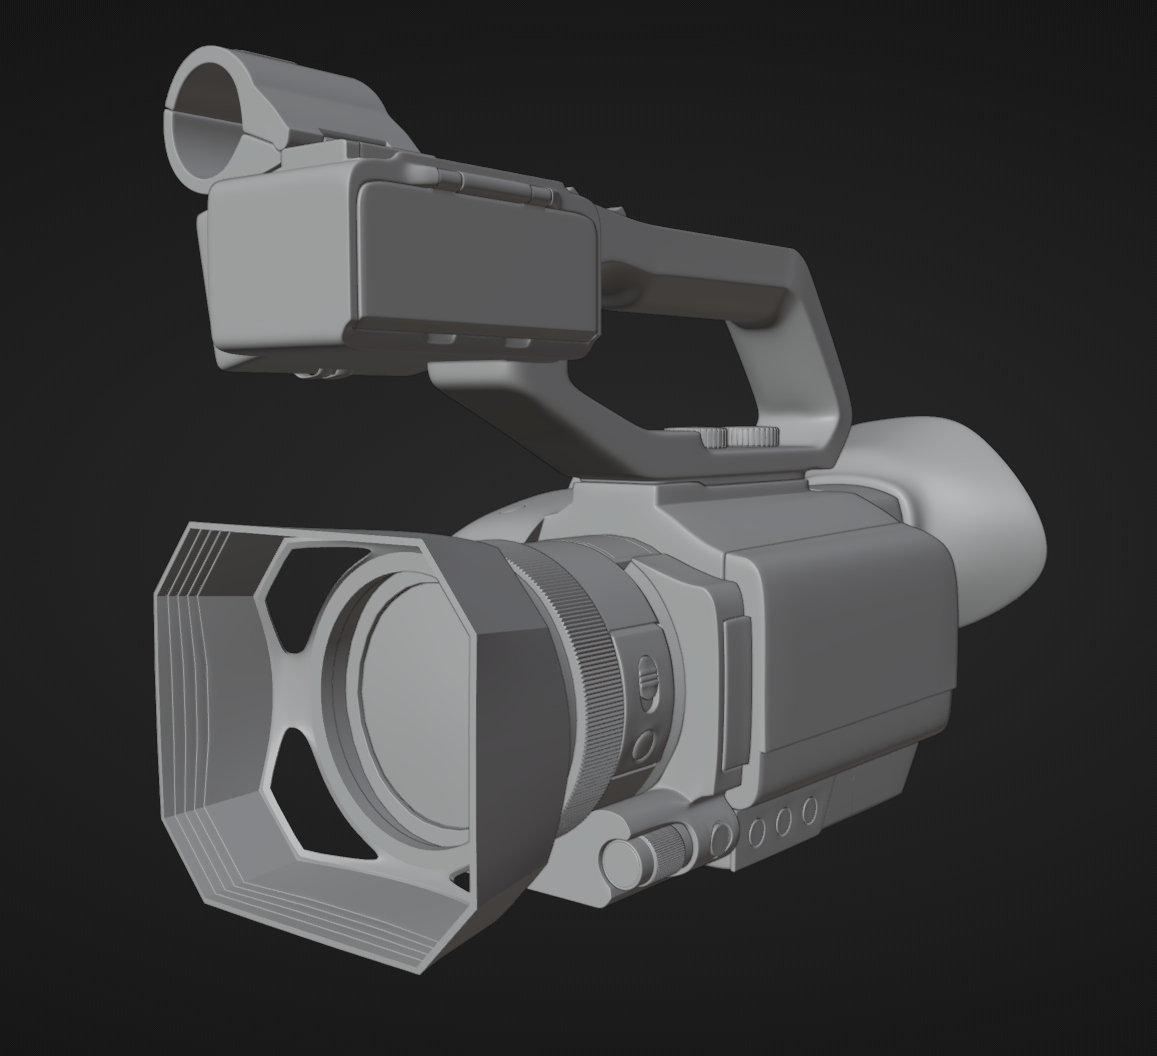
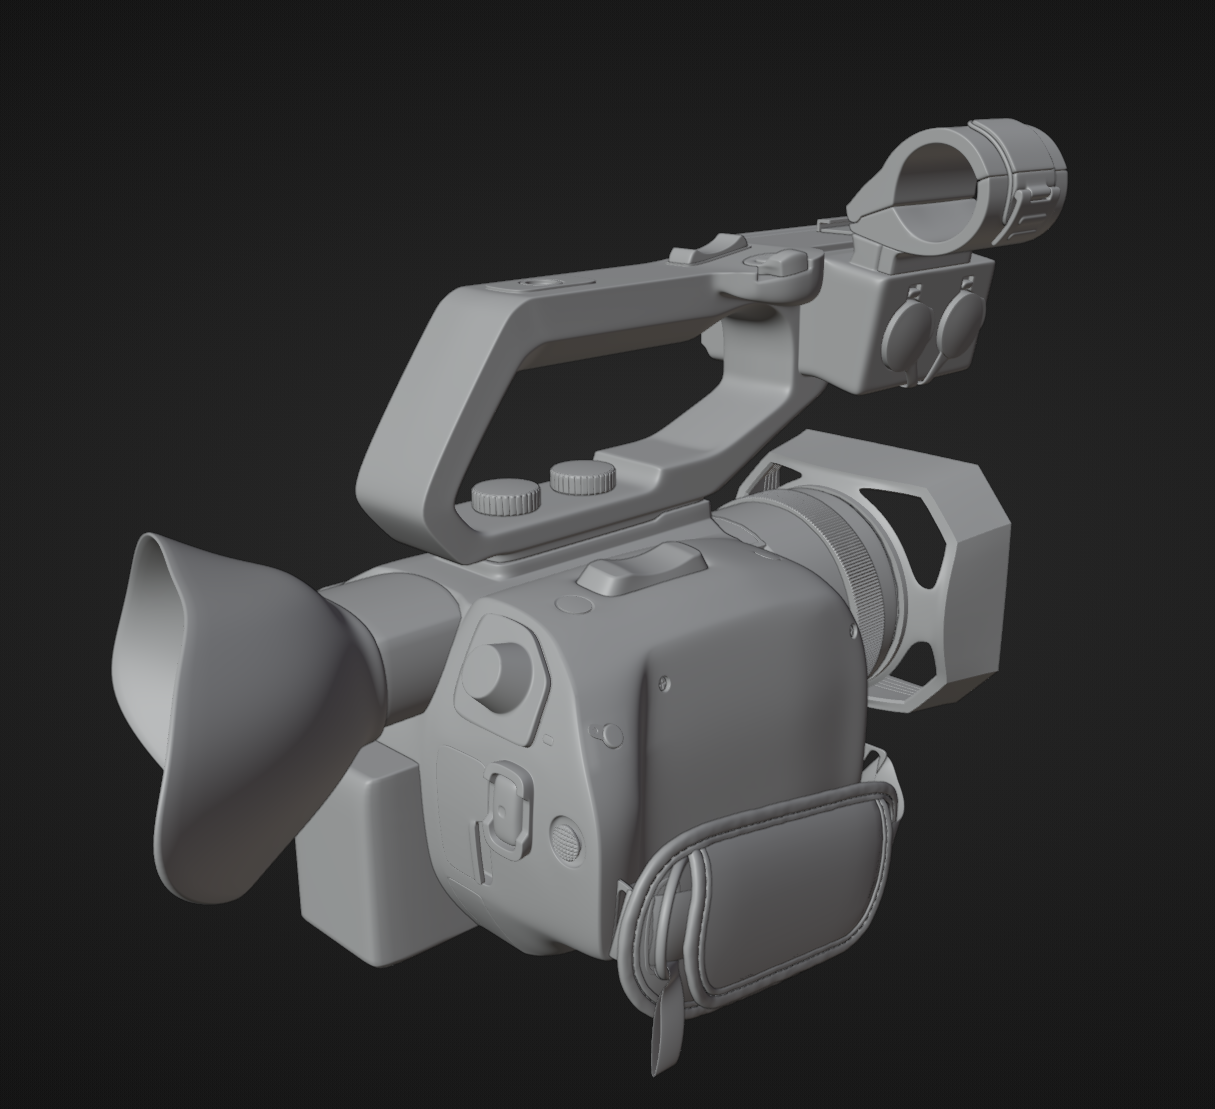
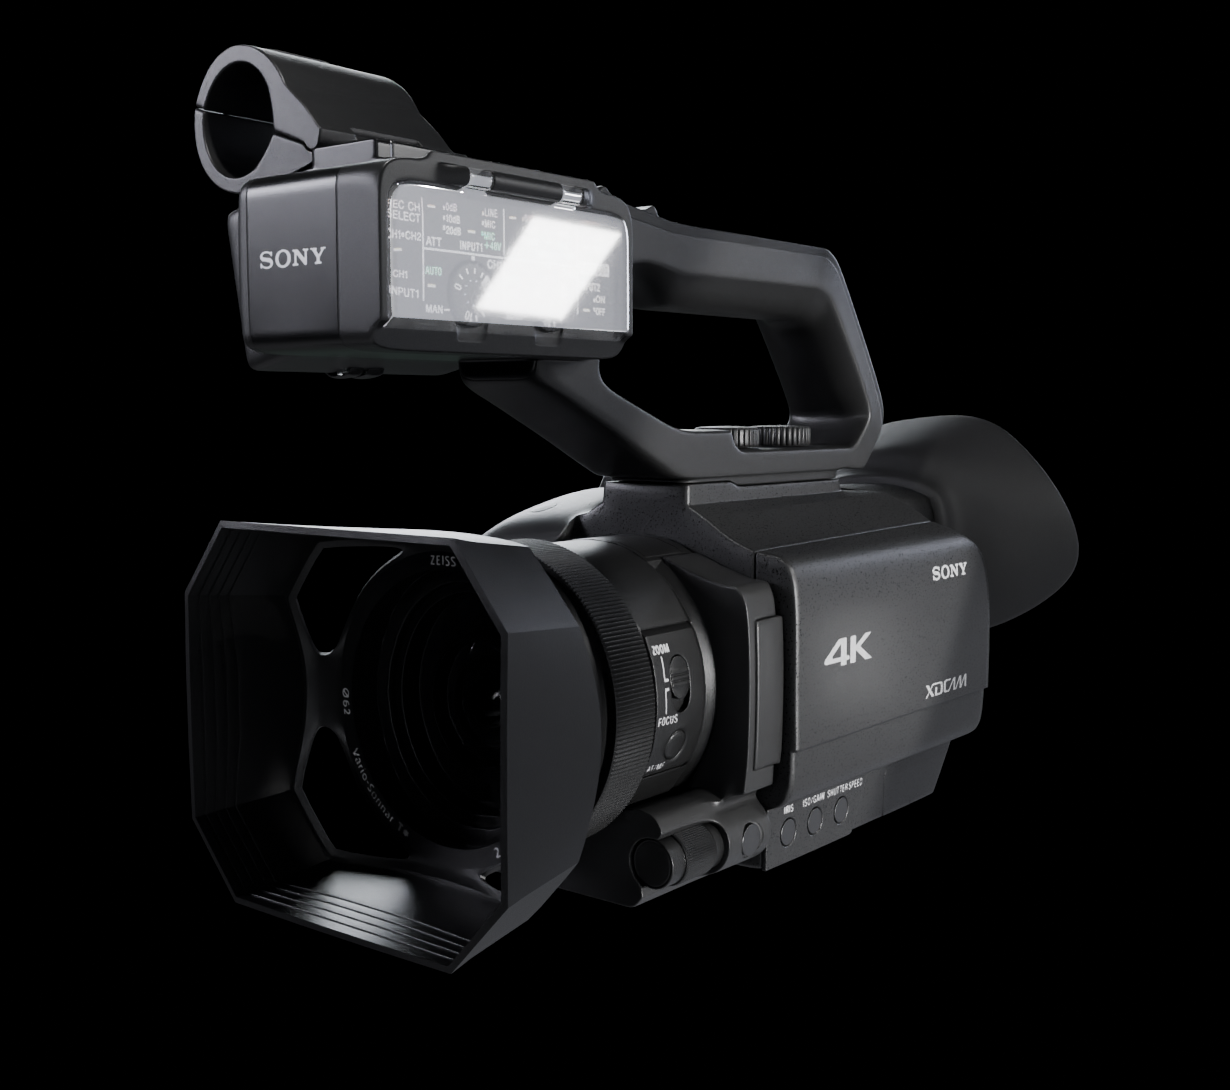
Camera
Also in trimester 6, I was low on work for my group and tasked with creating and texturing a 3D model for another group. Specifically this camera. I had a few bumps along the way but overall learnt a lot about modelling complex objects and adding details efficiently. I had to know when to apply a subdivision, transfer normals from a proxy, or just use a normal map. While its a little rough around the edges, I’m pretty proud of it nonetheless.